Greetings to all
my crafty friends,
I am delighted to
share with you another one of my handmade Mother's Day cards, crafted with
passion and care. Last night, I worked on this creation using the exquisite
papers from Craft O’Clock’s enchanting “Spring Charm” paper collection. The
delicate and feminine designs of these papers added a touch of elegance to my
project.
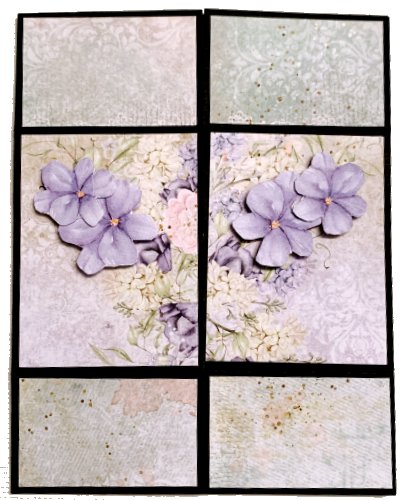
In this card, I
meticulously layered and distressed the papers, creating a textured backdrop
that added depth and visual appeal. I took the time to carefully fussy cut a
couple of beautiful flower bouquets from the collection. By using pop dots, I
elevated these bouquets, giving them a delightful 3D effect. One bouquet graces
the top left corner, while the other adorns the bottom right corner of the
card.
To add a playful
and charming element, I incorporated adorable pink dragonfly brads. I
skillfully removed the arms of the brads and delicately glued them to each
bouquet, enhancing the overall visual allure of the card.
For the heartfelt
message, I opted for a specially chosen Mother’s Day sentiment, thoughtfully
printed using my computer. Here is my end result of my work,

Thank you for taking the time to visit and appreciate my work. Your comments and feedback are deeply cherished. Feel free to share your thoughts; your support means the world to me.
Warm regards,
Stephanie